If you’re intrigued by the idea of developing applications on different platforms using only the JavaScript language, it will be a thrill to learn about this framework called Quasar.
The special thing about Quasar is its size, not in terms of the number of lines of source code, but in terms of use case coverage. It is a “mega” framework that offers solutions for SPA, PWA, SSR, hybrid mobile app, browser extension, and desktop app. And all of these app “modes” can be developed using Vue.js techniques, with an inventory of built-in GUI components in the backseat.
Quasar didn’t reinvent the wheel entirely to replace all existing solutions. For example, its hybrid mobile app solution is relying on Apache Cordova, while its desktop app solution is basically just Github’s Electron framework. So in that regard, Quasar can be viewed as a bootstrap generator that takes away the hassles of setting up initial project files.
In this tutorial, we’re going to pick the two most exotic JavaScript environments, namely browser extension and desktop app, as our vantage points to examine this “mega” framework. This should be an interesting double feature as Vue.js isn’t normally used in these contexts.
Browser Extension (BEX)
First stop, we’ll use Quasar to create a simple browser extension.
Here’s how the final extension looks.
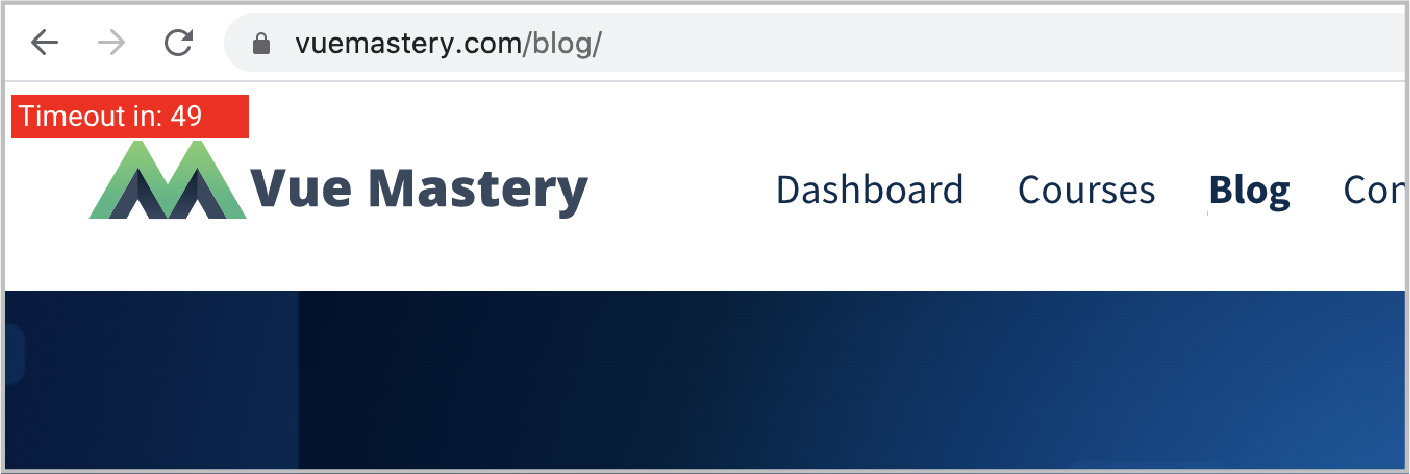
When the extension is turned on, it will show a box in the top-left corner of the currently opened web page. The number in the box starts at 60 and goes down by one each second until it reaches zero, at which point the web page will be gone.
This is probably not a browser extension that will garner a million downloads, but it’s intricate enough to illustrate the creation of the extension GUI on a web page and the communication between them.
Generating a project
First, install the Quasar CLI:
npm install -g @quasar/cli
Generate a new app using the quasar create command:
quasar create timeout
(You might need to run this command with sudo depending on your Node configuration.)
This command will be followed by a bunch of questions regarding project names and the “side tools” you want to use. Because the built-in ESLint configuration is a bit too strict, make sure you deselect the ESLint option in order to follow the code in this tutorial smoothly.
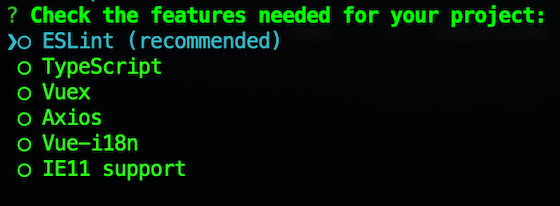
(Press space to unselect the ESLint option.)
The quasar create command only generates the code for the core Vue app. If we want to target a specific platform, such as browser extension in this case, we need to activate it specifically.
cd timeout
quasar dev -m bex
This will create an src-bex folder to host all the code specifically for the browser extension, such as the code to inject the Vue app as an extension into a currently opened web page in the browser.
So basically, the src folder contains the actual application code, while the src-bex folder contains supporting code to accommodate the requirements of making an app a browser extension.
Creating our component
Let’s begin with preparing a Vue component inside the src/App.vue:
<template>
  <div id="q-app">Timeout in: {{ remainingTime }}</div>
</template>

<script>
export default {
  name: 'App',
  data() {
    return {
      remainingTime: 60
    }
  },
  mounted() {
    setInterval(() => {
      if (this.remainingTime > 0) {
        this.remainingTime--
      }
      else {
        this.$q.bex.send('timeout')
      }
    }, 1000)
  }
}
</script>
This is just a simple Vue component that counts down from 60 to 0, and then uses Quasar’s special object $q to emit a timeout event. Any code interested in this event can register an event listener; we’ll see how to do that in a bit.
Add some CSS to make the component stand out when it’s placed on a regular web page:
<style>
#q-app {
  background-color:red;
  color:white;
  margin:5px;
  padding-left: 3px;
  border:1px solid white;
}
</style>
This component will be the GUI of our browser extension. To fashion this Vue app into a browser extension, we need a little more work in the src-bex folder.
Injecting the app
Next, we have to inject the Vue app into a web page as an iframe, and then set up an event handler for the timeout event emitted by our Vue component.
Both of these actions can be done in src-bex/content-hooks.js:
export default function attachContentHooks (bridge) {
  // handle event
  bridge.on('timeout', function (event) {
    document.getElementsByTagName('body')[0].remove()
  })
}

// create iframe
function createIframe () {
  const iframe = document.createElement('iframe')
  iframe.width = '120px'
  iframe.height = '50px'

  Object.assign(iframe.style, {
    position: 'fixed',
    border: 'none',
    zIndex: '10000'
  })

  iframe.src = chrome.runtime.getURL('www/index.html')

  return iframe
}

// inject iframe
document.body.prepend(createIframe())
Our browser extension is done. Now, we just need to try it out in a browser.
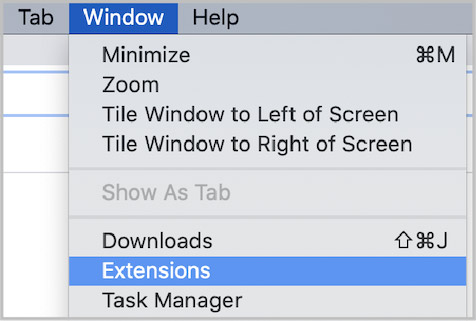
Open Chrome, go to Window > Extensions:
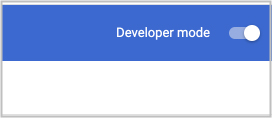
Turn on the Developer mode:
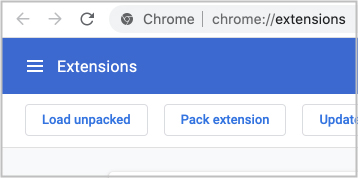
And click “Load unpacked” to select the src-bex folder:
Now visit any web page in Chrome, you should see the countdown box at the top-left corner of the page.

When you’re done, make sure you disable the extension to resume your normal web browsing experience.
While building this little browser extension, our focus was on the project structure. And to complete our understanding of how Quasar is meant to be used, we’ll incorporate some of its built-in GUI components in the next project.
Electron for Desktop App
As I said, Quasar’s desktop app framework is just Electron. So if you already know how to use Electron, you’ll feel right at home. But for those who are new to Electron, it’s a framework that allows developers to use web technologies(HTML/CSS/JS) to develop desktop apps.
We’ll create a classic counter application with a material-design overlay by using Quasar’s built-in components.
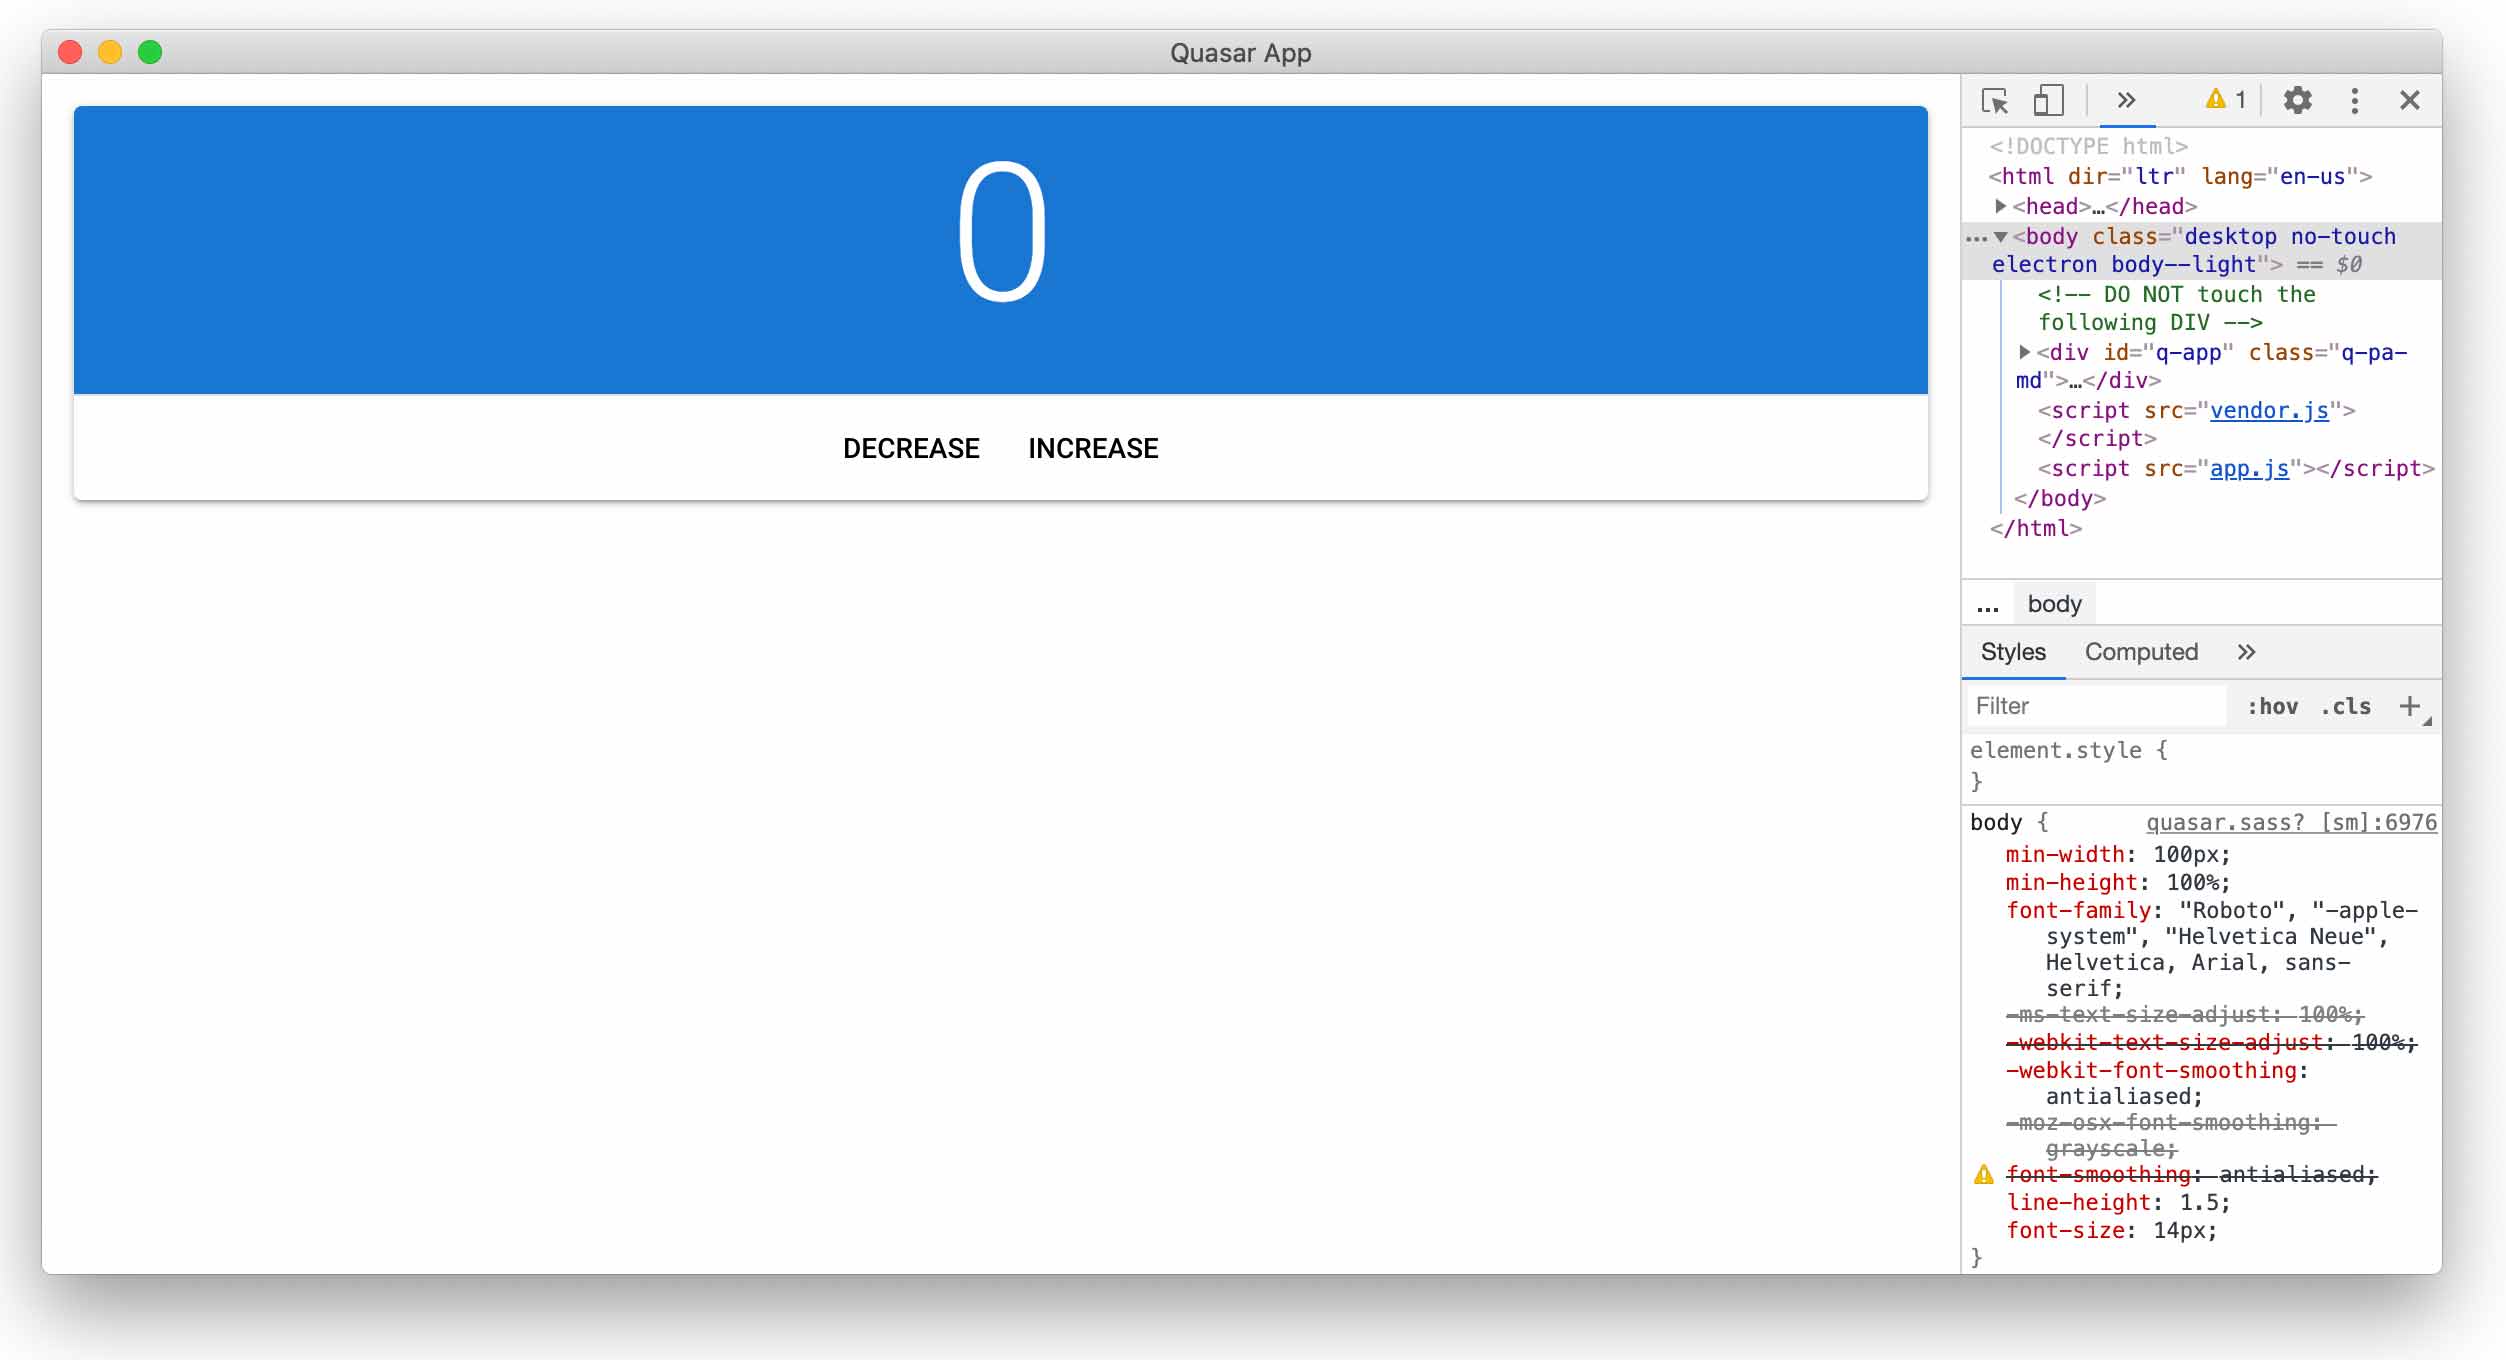
Here’s how the finished product looks:

Creating a new project
Generate a new Quasar project:
quasar create counter
Run another command to create the src-electron folder
cd counter
quasar dev -m electron
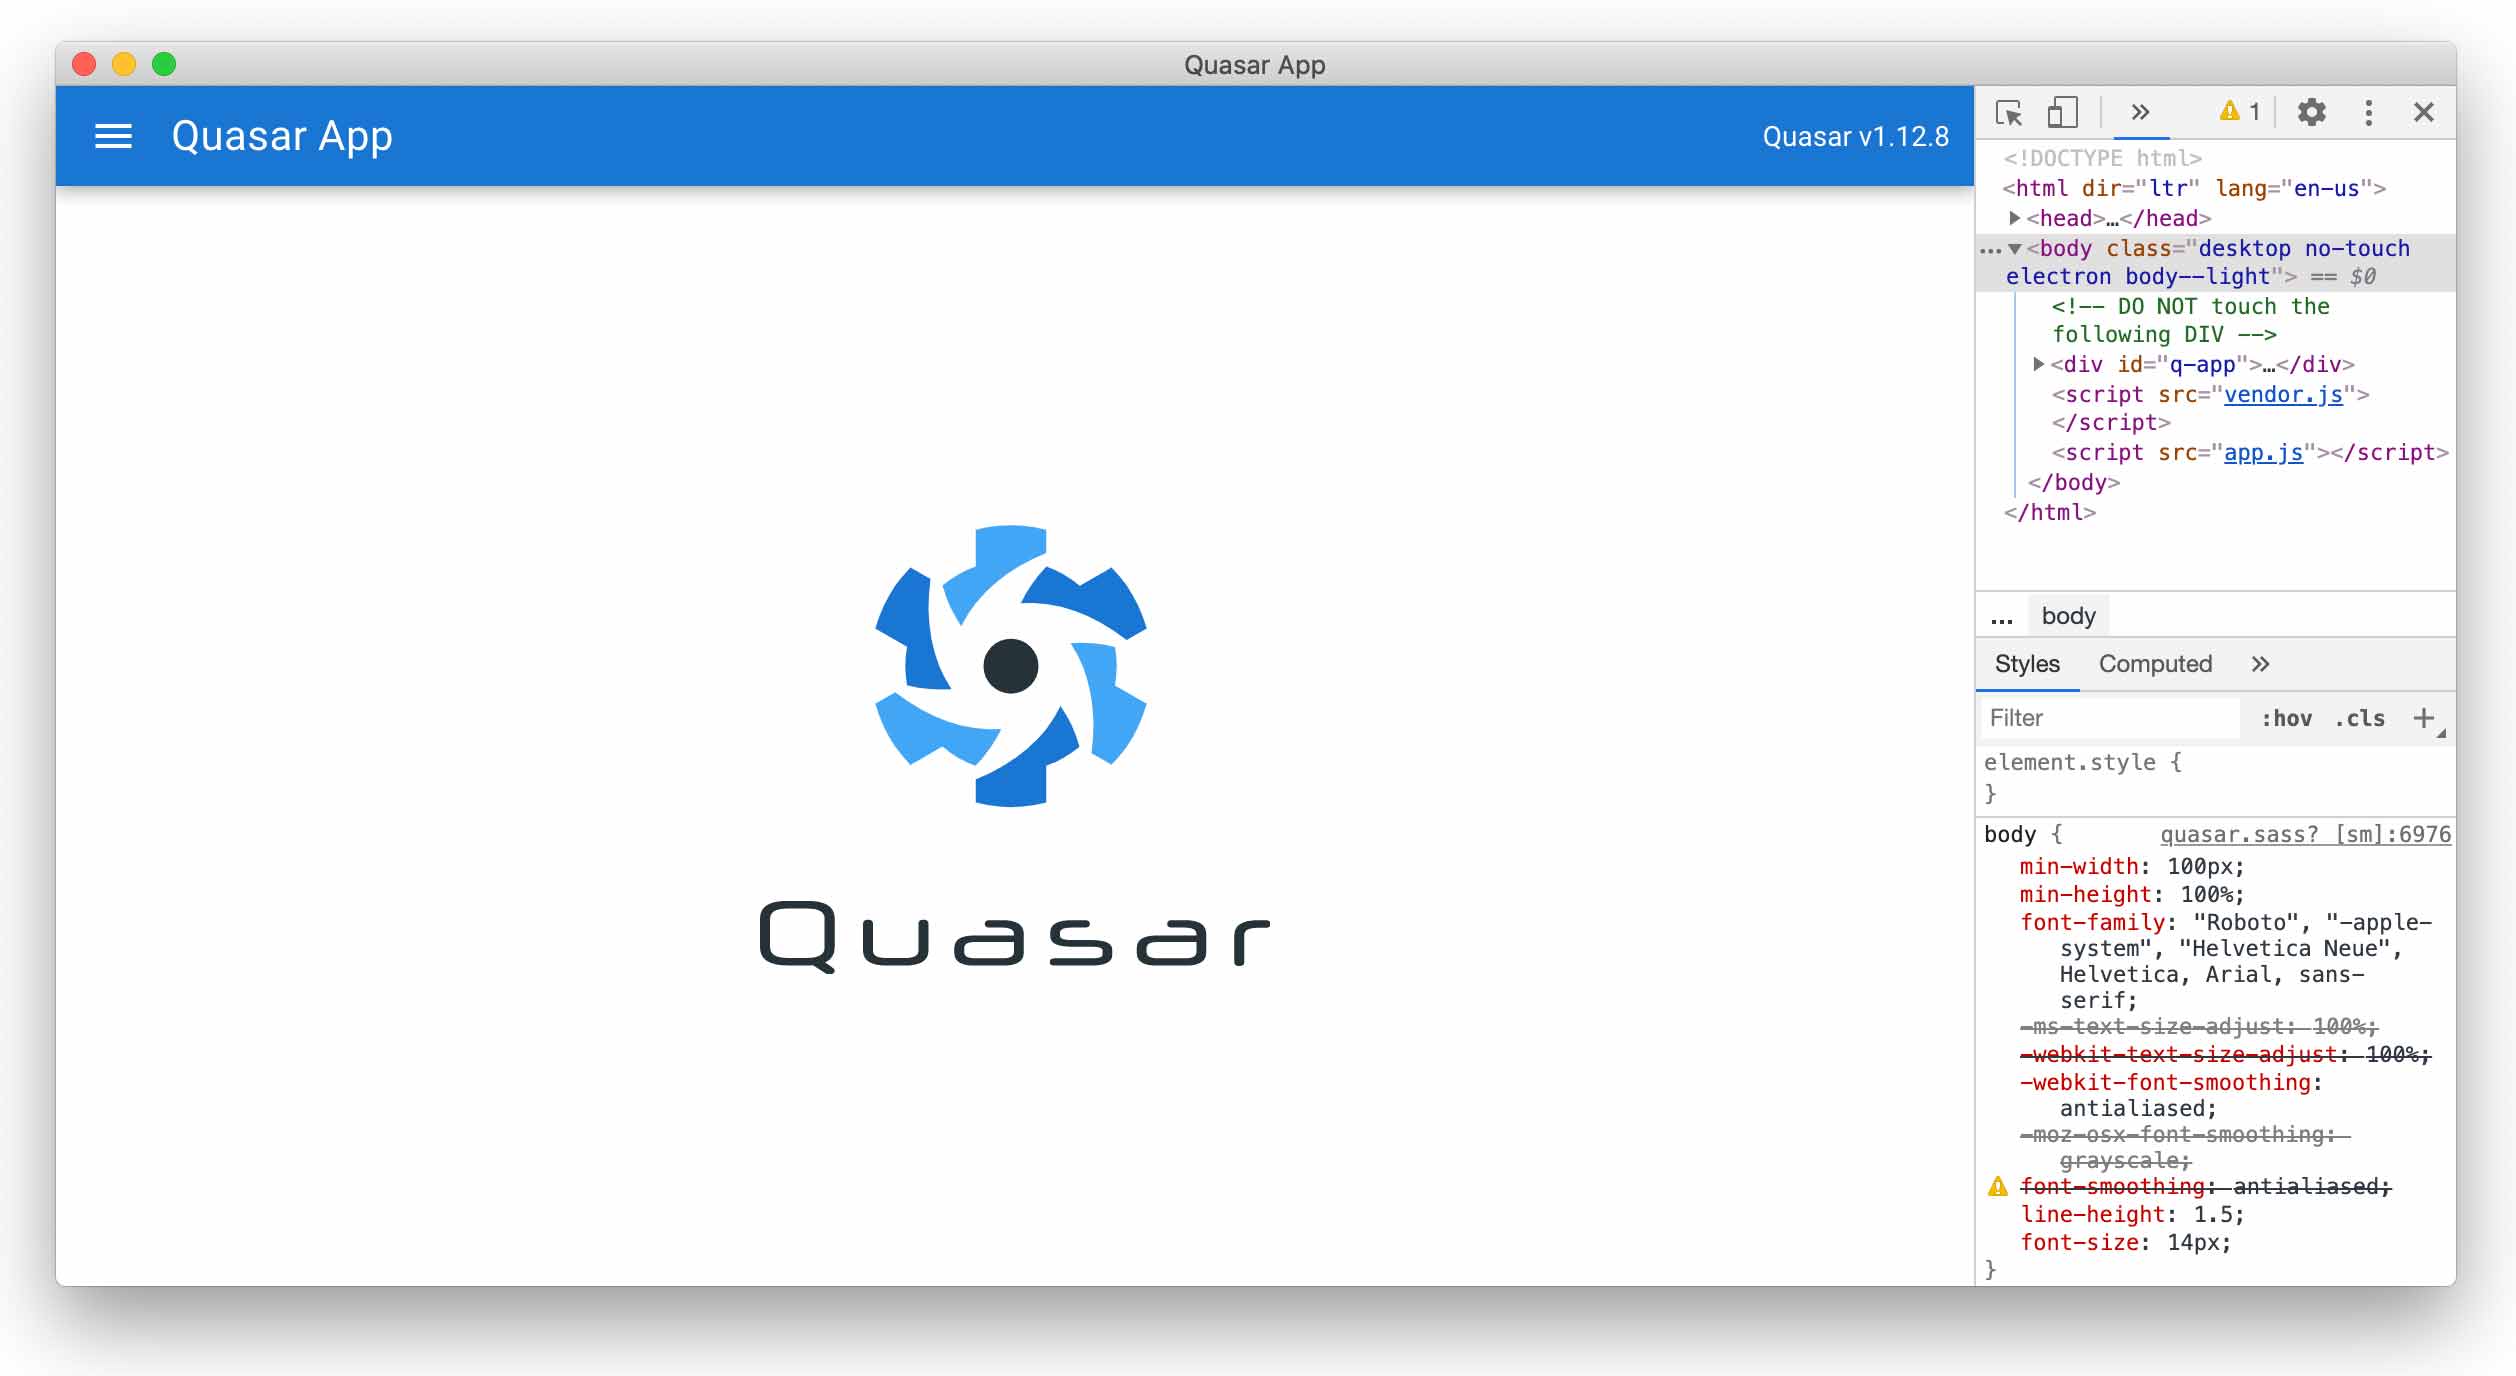
A sample app should pop open with DevTools. (We’ll talk about how to hide the DevTools in a bit.)
Let’s create the app as a Vue component.
/src/App.vue
<template>
  <div id="q-app" class="q-pa-md">
    <q-card class="my-card">
      <q-card-section class="bg-primary text-white" align="center">
        <p class="text-h1">{{ count }}</p>
      </q-card-section>
      <q-separator />
      <q-card-actions align="center">
        <q-btn flat v-on:click="decrease()">Decrease</q-btn>
        <q-btn flat v-on:click="increase()">Increase</q-btn>
      </q-card-actions>
    </q-card>
  </div>
</template>

<script>
export default {
  name: 'App',
  data() {
    return { count: 0 }
  },
  methods: {
    increase() {
      this.count++
    },
    decrease() {
      this.count--
    }
  }
}
</script>
This is just an ordinary Vue app, but with Quasar components such as q-card and q-btn
The app should be refreshed automatically with the new changes.
Next, let’s customize our app using the files in src-electron, specifically electron-main.dev.js and electron-main.js.
We can customize the window shell of the app in electron-main.js.
For example, change the width of the app window to 600:
function createWindow () {
  mainWindow = new BrowserWindow({
    width: 600, // here
    height: 600,
    ...
The electron-main.dev.js file has a similar purpose, but for development only. For example, we can choose to hide or show the DevTools panel by setting the showDevTools option:
electronDebug({ showDevTools: false })
Now without the DevTools, our app should look a bit more like an actual desktop app.
Similar to our browser extension app, this desktop app is just a Vue app at its core. What makes it an Electron desktop app is just a thin layer of “adapter” code inside the src-electron folder. This “formula” is used for developing all other types of applications on Quasar.
The Takeaway
We have created two projects in two different domains, with the same workflow and the same set of Vue.js skills.
Quasar is a manifested proof that JavaScript is the modern universal language for application development. And specifically, the mastery of core Vue.js techniques is an indispensable asset facing a plethora of JavaScript-speaking platforms.