
An inevitable part of Vue.js development is that we’ll need an API server to make sure our frontend code is working. But what if the API server is not ready just yet? Where should our frontend code send their API requests? It’s not so productive if the frontend team has to wait until the backend team is done with their API server.
We can solve this problem with API mocking. It’s basically just a “fake” server that the frontend can make HTTP requests to.
There are many flavors of API mocking tools on the market. They are solving the same problem in different ways. Some allow you to set up an actual Node.js mock server. Some will intercept the fetch requests and redirect them to handler functions that exist in the frontend.
Mock Service Worker (MSW) is an exciting API-mocking tool that intercepts your HTTP requests using service worker. This will allow you to make actual HTTP requests that you can inspect with DevTools because MSW works on the service worker level.
MSW can also be used in your test code so that you don’t have to set up additional test mocks for your HTTP responses.
To demonstrate this throughout this article, we are going to create a Vue.js app using MSW as a “fake” server and use the same “fake” server for testing.
What is a Service Worker?
Since MSW relies on service worker, let’s talk about what a service worker is. A service worker is a little program that runs in the background alongside your regular app code, it takes care of things such as push notifications and response caching. It’s intended to create a wholesome offline experience for front-end apps. MSW is built on service worker’s caching mechanism.
Prepare a new app
Let’s create a new Vue app using the Vue CLI.
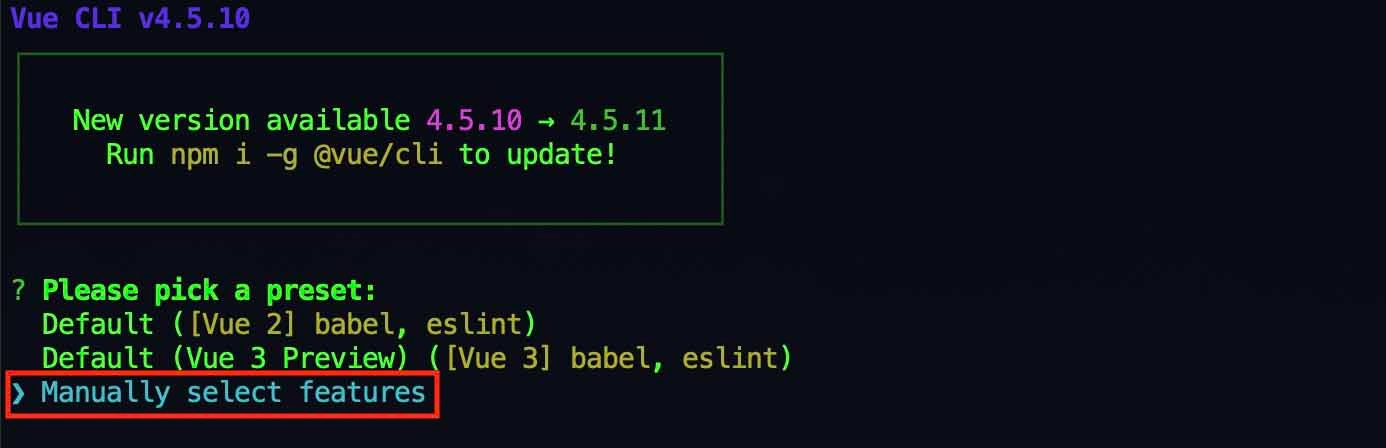
In the console, use the vue create command:
vue create my-app
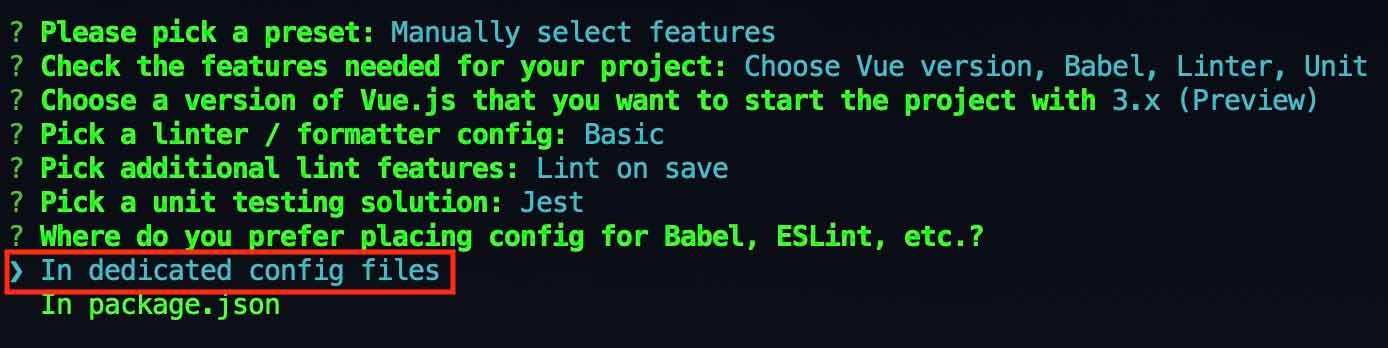
Choose the third option:
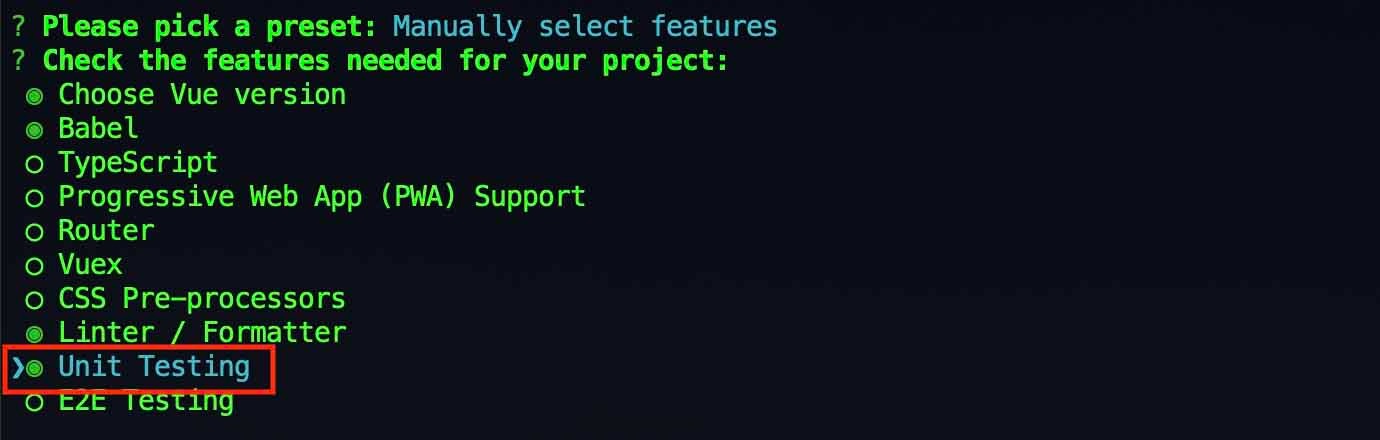
Then select Unit Testing with the Space key (and then hit Enter):
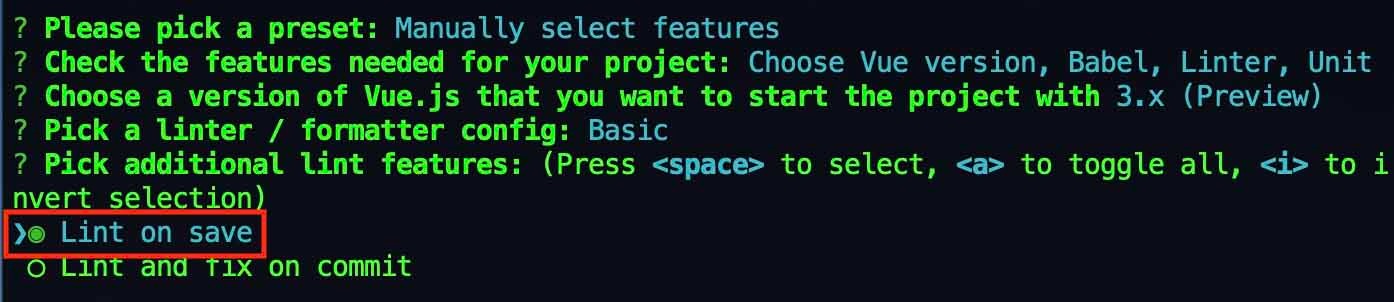
Choose version 3:

And then (not that important):

And then (not that important):
Now, make sure you choose “Jest” for the unit testing solution prompt (this is very important):

And then (not that important):
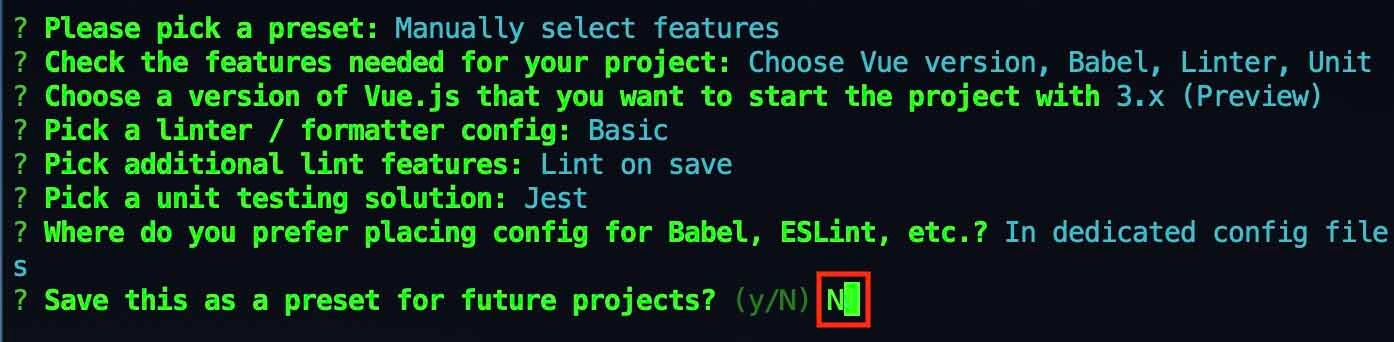
Finally, type N for not to save the preset:
Once the project is created, open App.vue inside the src folder, and replace the default code with the following code:
📃 /src/App.vue
<template>
  <p>{{ message }}</p>
</template>

<script>
import { fetchMessage } from '@/services/fetchers'

export default {
  data() {
    return {
      message: ''
    }
  },
  async created() {
    try {
      this.message = await fetchMessage()
    }
    catch(error){
      this.message = 'server error :('
    }
  }
}
</script>
That’s it for our component code. It’s basically just a component using a fetch function to get data from the server and display the returned data in HTML. (And it will display an error message if the server returns an error.)
As you can see, it’s importing /services/fetchers.
So let’s create a services folder inside src*,* and create a fetchers.js file inside the services **folder, which will be used host our fetch functions.
Put the following fetching function inside fetchers.js:
📃 /src/services/fetchers.js
import axios from 'axios'

export const fetchMessage = async function (){
  const response = await axios.get('/message')
  return response.data.message
}
Since the fetcher is using axios, we have to install that as well:
npm install axios
Now you can run the app:
npm run serve
And check it out in the browser:
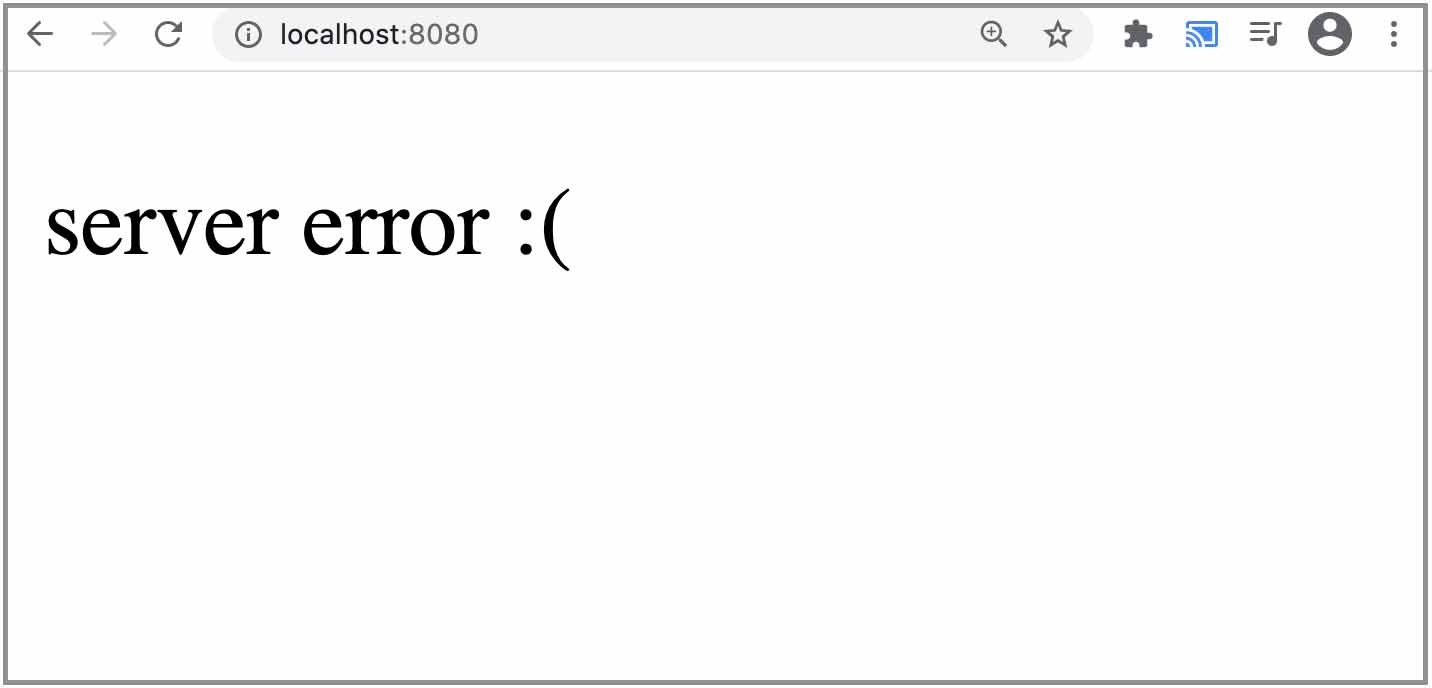
The app is running successfully. It says “server error” only because we don’t actually have a server.
So, let’s prepare a “server.”
Setting up MSW
First, install MSW into your project:
npm install msw
Then create a folder called mocks inside src. This is where we’ll put all of our mock API code.
Inside the mock folder, create two files, handlers.js and browser.js.
- handlers.js is going to be the place where we specify the behaviors of our mock API.
- browser.js is going to be the place where we initialize the actual mock service worker using the code from handlers.js. Since MSW can be used in both development and testing, the initializations for the two environments should be kept separate, and browsers.js is for development. (we’ll talk about initialization for testing when we get to the testing part of MSW later)
We’ll put all of our “fake” API request handlers inside handlers.js:
📃 /src/mocks/handlers.js
import { rest } from 'msw'

export default [
  rest.get('/message', (req, res, ctx) => {
    return res(
      ctx.json({
        message: 'it works :)'
      })
    )
  })
]
This is how we specify mock implementations in MSW. If you’re familiar with Express.js, this handler syntax should be self-explanatory. We are exporting an array from this file. But since we only have one handler at the moment, it’s an array of one handler.
A handler basically maps an API path to a function. The function will arrange a response for the request. For the above handler, a request to the /message API path will be served with a response containing the following JSON data:
{"message":"it works :)"}
Inside browser.js, we’ll import and use the handlers array to create a service worker:
📃 /src/mocks/browser.js
import { setupWorker } from 'msw'
import handlers from './handlers'

export const worker = setupWorker(...handlers)
This worker is our “fake server.”
We still have to import and initialize it inside main.js:
📃 /src/main.js
import { createApp } from 'vue'
import App from './App.vue'

// NEW
if (process.env.NODE_ENV === 'development') {
  const { worker } = require('./mocks/browser')
  worker.start()
}

createApp(App).mount('#app')
We’re doing this conditionally because we only need to run this in development, not in production.
Finally, we’ll generate a service worker script in the public folder:
npx msw init public/
This is the script that will actually bootstrap our “fake server” by intercepting HTTP requests. (this will be the same script for every project using MSW)
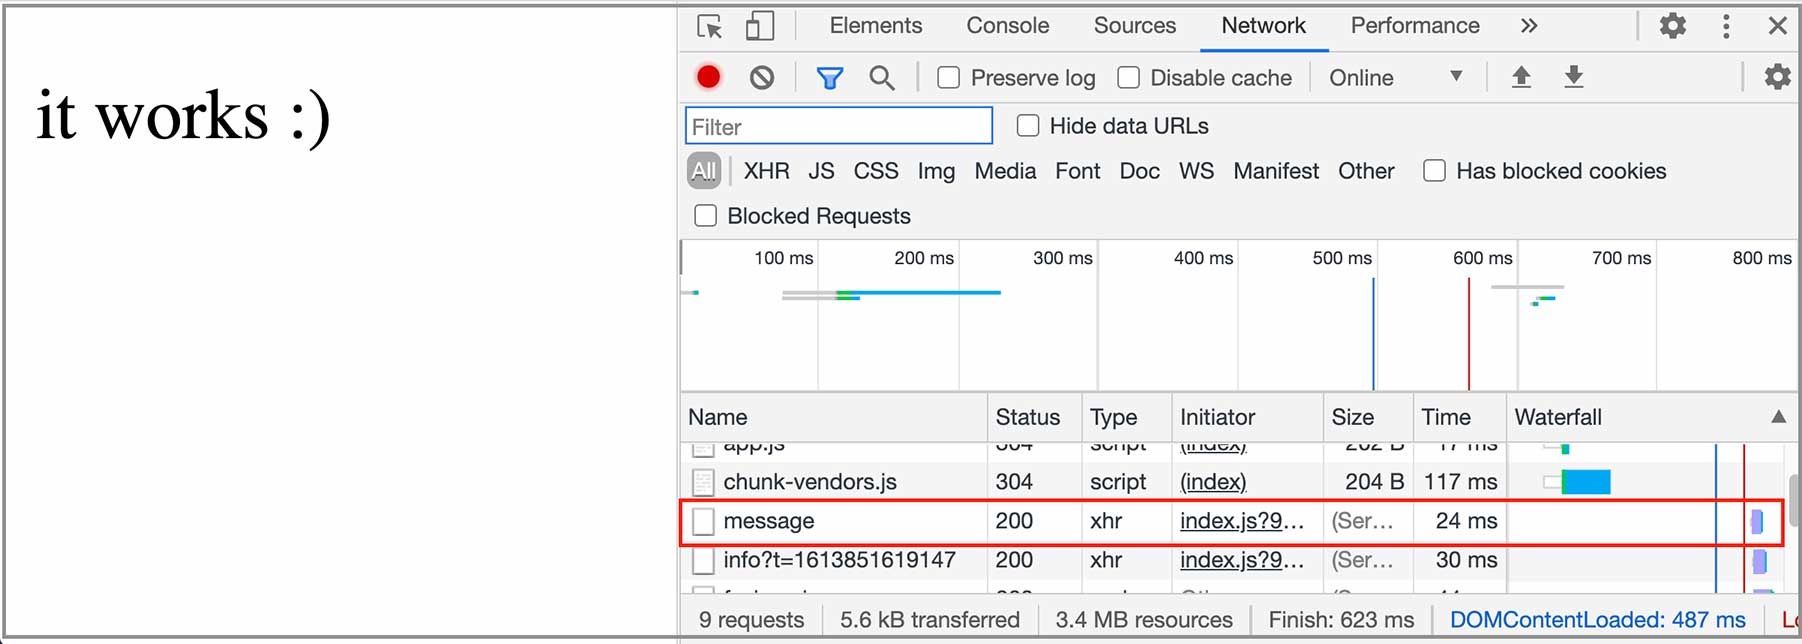
Now we can run the app, and it will work as if a real API server actually exists.
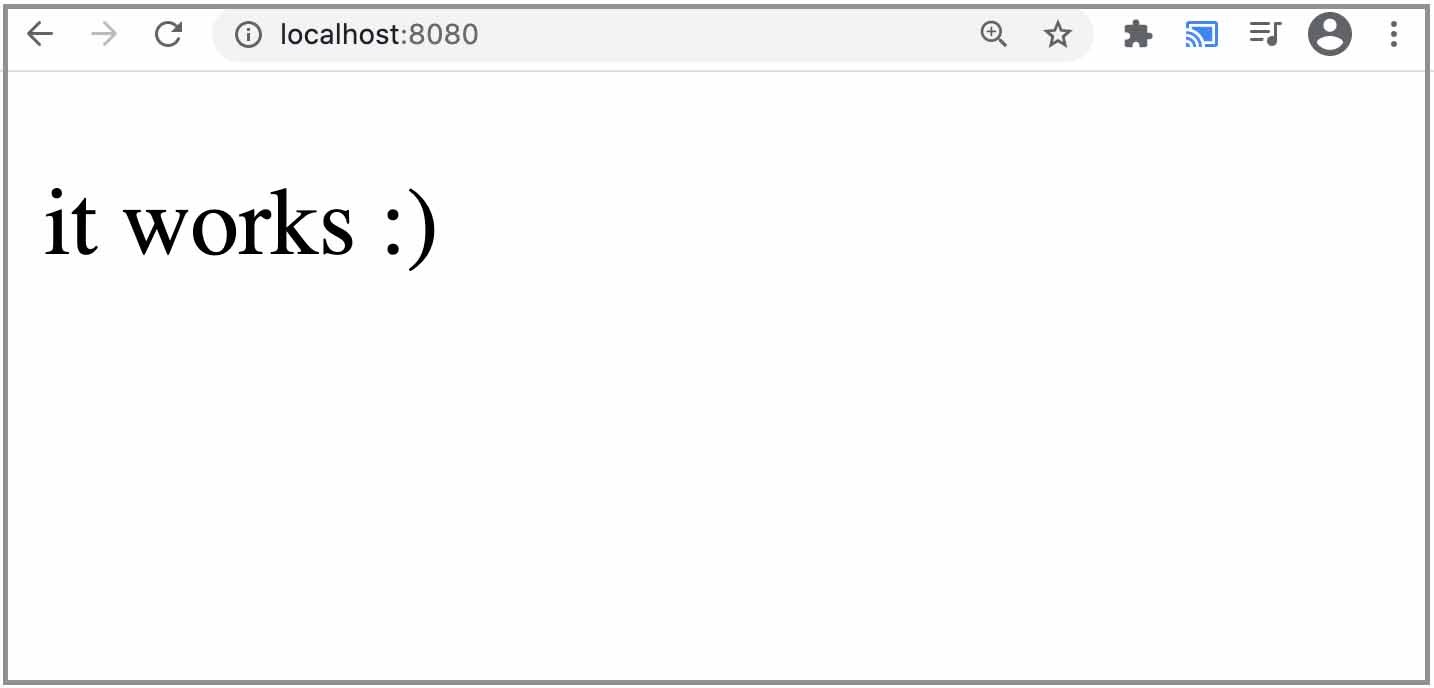
As I mentioned, you can open Chrome DevTools, select the Network tab, and you can see the actual request going out to our fake API:
So that’s how MSW is used for development, now let’s talk about testing.
MSW for testing
The beauty of MSW is that we can reuse the same handlers code for testing.
Our tests are going to use Vue Testing Library (VTL) instead of Vue Test Utils. The reason for choosing VTL is because it has a design philosophy that works more naturally with MSW. Our tests will mimic how the user would actually use the app. For example, instead of using flushPromises (like we show in our Unit Testing Vue course) to wait for all promises to resolve, the test would just wait for a certain text element to be visible on the screen (just like how an actual user would).
We have to install a couple of things for VTL. Modify your package.json devDependencies with these two libraries:
"devDependencies": {
  "@testing-library/vue": "^6.3.4",
  "@testing-library/jest-dom": "^5.11.9",
  ...
(The jest-dom library will enable us to use more intuitive assertion methods in our tests.)
Then run the following command to install the added libraries:
npm install
Inside the tests/unit folder, create a test file called App.spec.js for our App.vue component.
Also, remove example.spec.js. That’s just a sample test.
In the App.spec.js, import all the things we need for our test:
📃 /test/unit/App.spec.js
// our test subject
import App from '../../src/App'

// libraries
import { setupServer } from 'msw/node'
import { render, screen, waitFor } from '@testing-library/vue'
import '@testing-library/jest-dom'

// MSW handlers
import handlers from '../../src/mocks/handlers'
And then, create the “fake server” using setupServer:
📃 /test/unit/App.spec.js
const server = setupServer(...handlers)
Remember that we used setupWorker to create a fake server previously for development. Now we’re using a different function setupServer because the tests will be run in the Node.js environment, not in an actual browser environment. Only the browser environment has service worker capability, so the way we’re using MSW in testing doesn’t actually involve service worker.
We’ll need to start the server before any test and close it when we finish the tests:
📃 /test/unit/App.spec.js
const server = setupServer(...handlers)

// NEW
beforeAll(() => {
  server.listen()
})

// NEW
afterAll(() => {
  server.close()
})
And now, our first test case:
📃 /test/unit/App.spec.js
describe('App', () => {
  it('calls fetchMessage once and displays a message', async () => {
    render(App)
    await waitFor(() => {
      expect(screen.getByText('it works :)')).toBeInTheDocument()
    })
  })
})
Basically, it will render the App component, then it will use await and waitFor to wait until the text “it works :)” appears on the screen. (after a second or so, if the expected text doesn’t appear, the test will fail)
Run the test with this command:
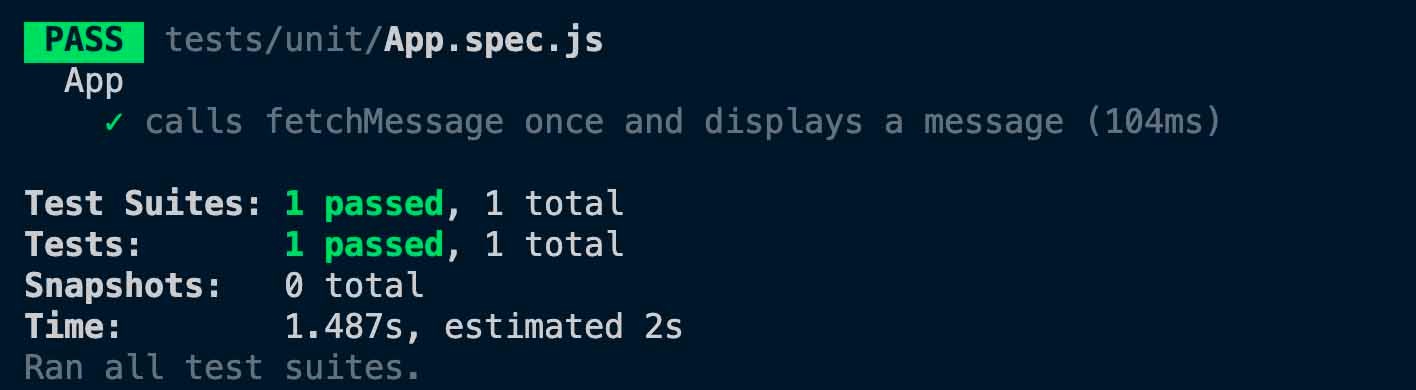
npm run test:unit
And you should see the following test results:
Here’s our test code so far:
📃 /test/unit/App.spec.js
import App from '../../src/App'
import { setupServer } from 'msw/node'
import { render, screen, waitFor } from '@testing-library/vue'
import '@testing-library/jest-dom'
import handlers from '../../src/mocks/handlers'

const server = setupServer(...handlers)

beforeAll(() => {
  server.listen()
})

afterAll(() => {
  server.close()
})

describe('App', () => {
  it('calls fetchMessage once and displays a message', async () => {
    render(App)
    await waitFor(() => {
      expect(screen.getByText('it works :)')).toBeInTheDocument()
    })
  })
})
Spying function call
Our test makes sure that the component is displaying the data coming from our MSW “server,” but if we want to make sure that it’s actually calling axios to fetch the data, we have to use something called a “spy.”
A spy is like a mock that comes with assertion ability. But different from a regular mock, a spy will invoke the actual implementation—not a mock implementation. We’re going to spy on the fetcher so that we can be sure it’s actually getting called inside our component.
First, let’s import the fetcher using the asterisk syntax:
📃 /test/unit/App.spec.js
...
import '@testing-library/jest-dom'
import handlers from '../../src/mocks/handlers'
import * as fetchers from '@/services/fetchers' // NEW
This will import all fetchers as a single object. Although we only need the fetchMessage function, the way we’ll create a spied function will require that function to be inside an object.
Now, we can create a spied method using jest.spyOn:
📃 /test/unit/App.spec.js
...
import '@testing-library/jest-dom'
import handlers from '../../src/mocks/handlers'
import * as fetchers from '@/services/fetchers'

const fetchMessageSpy = jest.spyOn(fetchers, 'fetchMessage') // NEW
Now, whenever fetchMessage is called anywhere in the code, fetchMessageSpy will keep a record of that.
So we can make an assertion on how many times it’s been called:
📃 /test/unit/App.spec.js
describe('App', () => {
  it('calls fetchMessage once and displays a message', async () => {
    render(App)
    await waitFor(() => {
      expect(screen.getByText('it works :)')).toBeInTheDocument()
    })
    expect(fetchMessageSpy).toHaveBeenCalledTimes(1) // NEW
  })
})
Finally, make sure the spy is reset after each test case:
📃 /test/unit/App.spec.js
beforeAll(() => {
  server.listen()
})

// NEW
afterEach(() => {
  fetchMessageSpy.mockClear()
})

afterAll(() => {
  server.close()
})
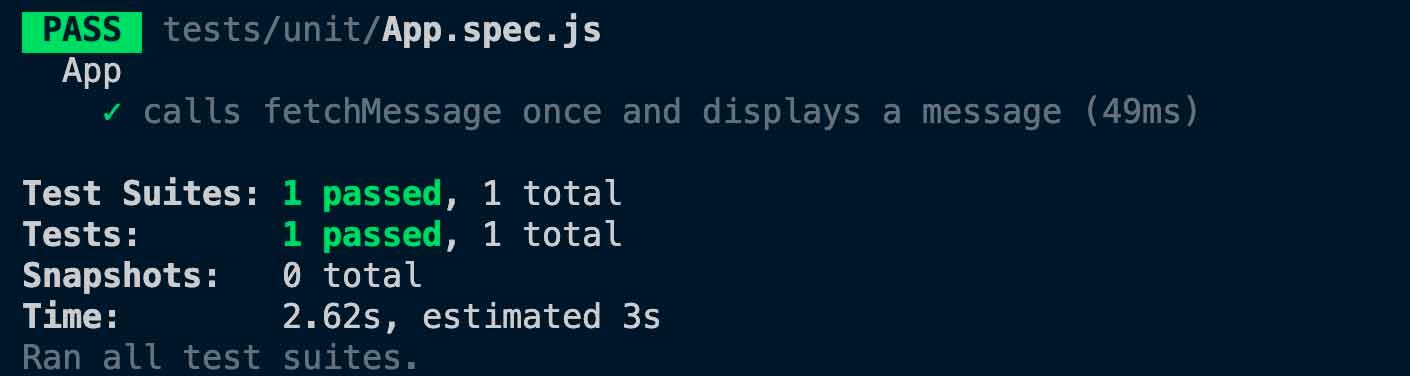
Run the test again with npm run test:unit:
Here’s our test code so far:
📃 /test/unit/App.spec.js
import App from '../../src/App'
import { setupServer } from 'msw/node'
import { render, screen, waitFor } from '@testing-library/vue'
import '@testing-library/jest-dom'
import handlers from '../../src/mocks/handlers'
import * as fetchers from '@/services/fetchers'

const server = setupServer(...handlers)

const fetchMessageSpy = jest.spyOn(fetchers, 'fetchMessage')

beforeAll(() => {
  server.listen()
})

afterEach(() => {
  fetchMessageSpy.mockClear()
})

afterAll(() => {
  server.close()
})

describe('App', () => {

  it('calls fetchMessage once and displays a message', async () => {
    render(App)
    await waitFor(() => {
      expect(screen.getByText('it works :)')).toBeInTheDocument()
    })
    expect(fetchMessageSpy).toHaveBeenCalledTimes(1)
  })
})
Server Error
We’ve only tested that the component is working whenever the request is served successfully. But, there will be times when the server is not able to serve properly; it would return something like a status 500 error. We have to write a test case to make sure that the component is handling such errors gracefully.
With the above setup, we can now write our second test:
📃 /test/unit/App.spec.js
describe('App', () => {
  it('calls fetchMessage once and displays a message', async () => {
    ...
  })

  // NEW
  it('shows an error message on server error', async () => {
    render(App)
    await waitFor(() => {
      expect(screen.getByText('server error :(')).toBeInTheDocument()
    })
    expect(fetchMessageSpy).toHaveBeenCalledTimes(1)
  })
})
This is almost identical to the first test, except the test description and the getByText argument.
Our current MSW handler will only return the “success” response. We have to create an additional “failure” handler and swap out the “success” handler when we have to test the error-handling ability of our component.
At the beginning of the test, we’ll use a “failure” handler to replace our current handler:
📃 /test/unit/App.spec.js
it('shows an error message on server error', async () => {
    // NEW
    server.use(rest.get('/message', (req, res, ctx) => {
      return res(ctx.status(500))
    }))

    render(App)
    ...
This will return a status 500 server error. In turn, it will trigger the catch clause in our App component. As a result, an error message “server error :(” will be displayed.
Since we’re using rest.get, we have to import rest from msw:
📃 /test/unit/App.spec.js
import App from '../../src/App'
import { setupServer } from 'msw/node'
import { rest } from 'msw' // NEW
...
Lastly, we’ll make sure that the fake server gets reset back to the original handlers after each test:
📃 /test/unit/App.spec.js
afterEach(() => {
  fetchMessageSpy.mockClear()
  server.resetHandlers() // NEW
})
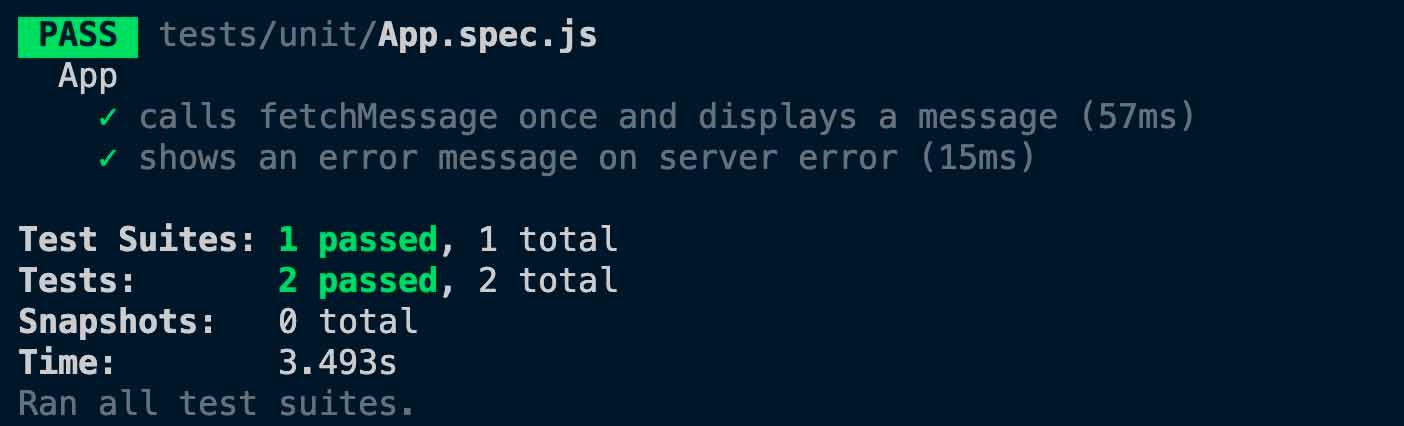
Run the tests again with npm run test:unit to make sure they all pass.
Here’s our final test code:
📃 /test/unit/App.spec.js
import App from '../../src/App'
import { setupServer } from 'msw/node'
import { rest } from 'msw'
import { render, screen, waitFor } from '@testing-library/vue'
import '@testing-library/jest-dom'
import handlers from '../../src/mocks/handlers'
import * as fetchers from '@/services/fetchers'

const server = setupServer(...handlers)

const fetchMessageSpy = jest.spyOn(fetchers, 'fetchMessage')

beforeAll(() => {
  server.listen()
})

afterEach(() => {
  fetchMessageSpy.mockClear()
  server.resetHandlers()
})

afterAll(() => {
  server.close()
})

describe('App', () => {

  it('calls fetchMessage once and displays a message', async () => {
    render(App)
    await waitFor(() => {
      expect(screen.getByText('it works :)')).toBeInTheDocument()
    })
    expect(fetchMessageSpy).toHaveBeenCalledTimes(1)
  })

  it('shows an error message on server error', async () => {
    server.use(rest.get('/message', (req, res, ctx) => {
      return res(ctx.status(500))
    }))
    render(App)
    await waitFor(() => {
      expect(
        screen.getByText('server error :(')
      ).toBeInTheDocument()
    })
    expect(fetchMessageSpy).toHaveBeenCalledTimes(1)
  })
})
Summary
As you can see. MSW is not just for testing. Even if you’re not yet doing automated testing, you can still make use of this cool library. If you’re trying to get into automated testing, MSW will make the process easier because a mocked API is already in place. We’ll be covering more real world testing practices in our upcoming Real World Testing course. And if you’re brand new to testing in Vue, make sure to check out our Unit Testing Vue Course now.